Moving The Hull
Posted on
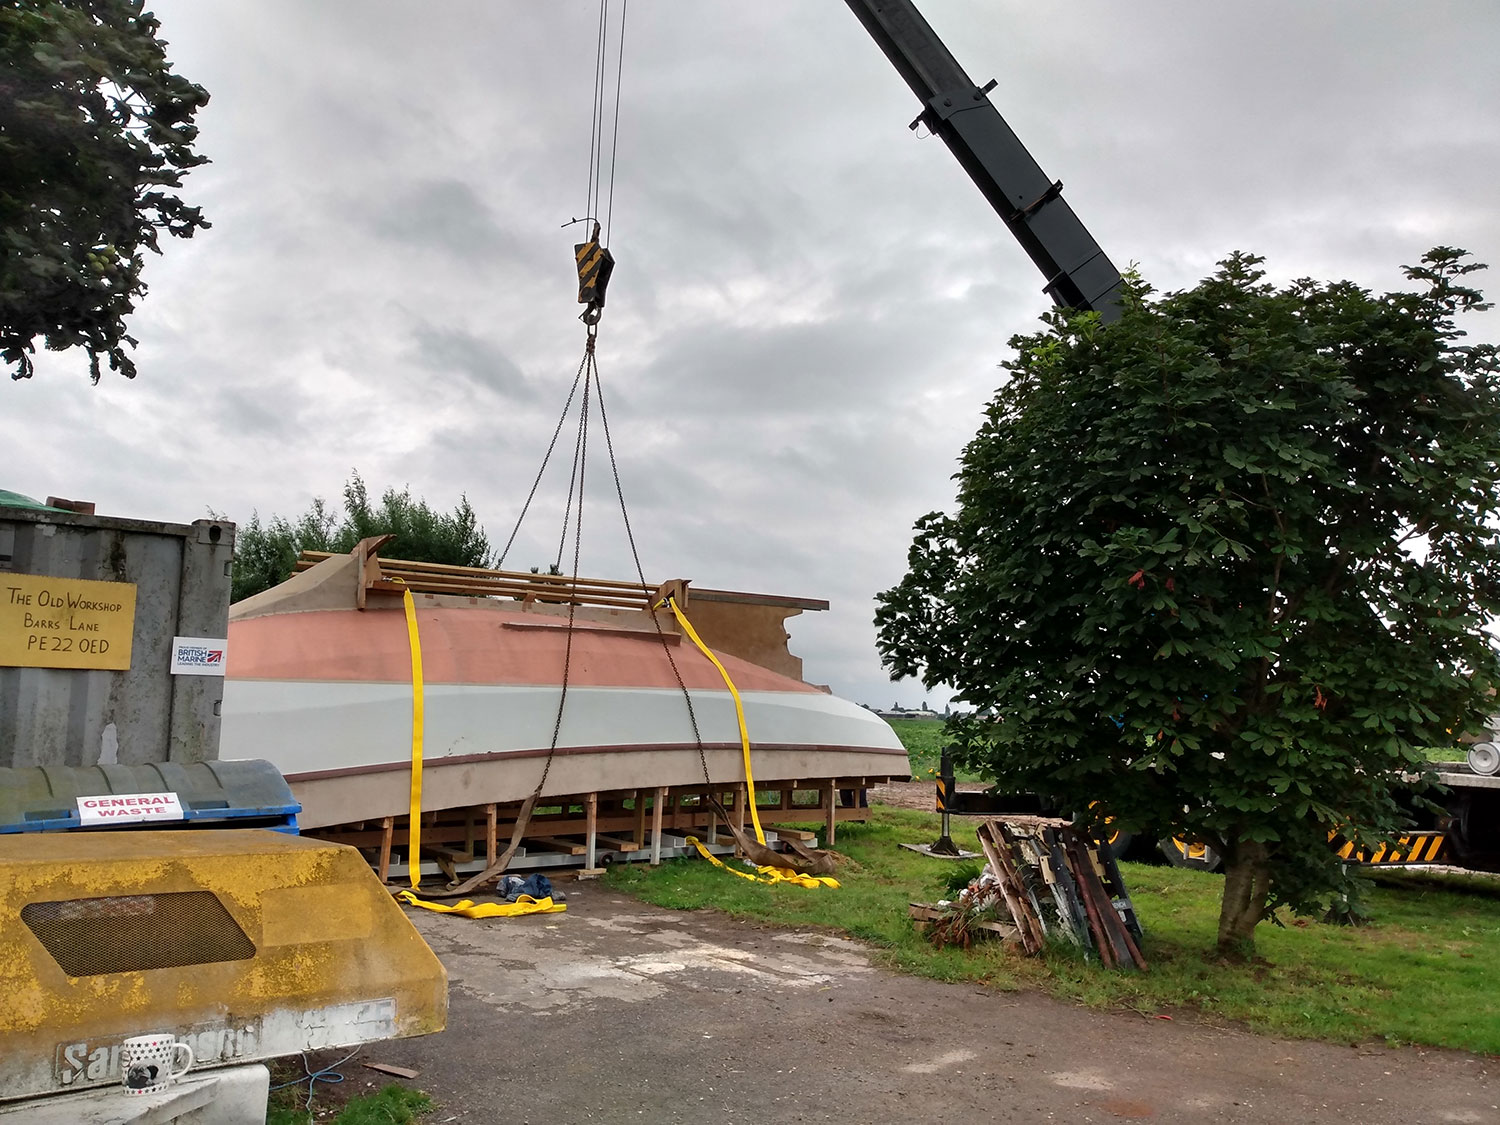
As many of you are aware, we are building a 38 foot schooner.
The schooner is an epoxy ply construction with timber masts and a junk rig.
The design is the last design worked on by Maurice Griffiths GM. Maurice was the editor to yachting monthly and a very keen coastal sailor who wrote many books on the simple pleasures of yachting mainly on the east coast of England between the north Kent coast and Norfolk.
I came to be introduced to Maurice through my friend Ken Long, who owned a boat designed by Maurice and built by Anderson Rigden and Perkins in Favershame Kent. I was again to meet Maurice when I bought my own boat Sigurd Syr a Eventide 27.3 built by phil sheath who was Maurice’s plans agent.
Through these above meets and crossings of paths I also became the secretary to the much loved Eventide Owners Association. This all lead to many conversations in Maurices bungalow in West Mersea and the conversations about boats and what I would like in a perfect boat.
So from the start of drawings on the back of envelopes Maurice and I started talking of the sort of boat I would like.
We went through The usual lists, she had to be easy to handle, more of a floating arm chair that was kindly and safe, have the ability to look after her crew and for the crew to be able to drink tea and eat a ham roll without feeling you had to hang on for dear life.
Maurice had a bad leg through an accident on one of his boats, so he said we should do as much as possible from the safety of the cockpit and we needed a working rig that could be reduced quickly and repaired easily.
The junk rig, Maurice was not overly keen on this , however as we talked he could see my thoughts and how they made sense in that the stresses with traditional rigs are eliminated (modern boats are like a bow and arrow ,with the mast being the arrow and the rigging trying to fire it through the bottom of the hull, likewise a gaff rig although Maurices preferred option has a lot of on deck handling, which we wanted to cut down) So a junk rig schooner was developed.
Multi chine and plywood were the prefered options as it would be an easier construction especially with modern epoxies such as MAS which does not have waxing and blushing that the old epoxies such as west are plagued with.
Maurice gave me the plans and some sketches of his barbican which became the idea and basis of construction. We made the new boat widder along the lines of American boats, triple keels and a strong thick hull because I still tend to find the mud and sand and end up stranded between tides.
So now we have a hull, upside down in a workshop that is barely big enough for it and we need it up the other way so we can fitout the inside and fit the deck.
Now we are a low cash flow project, so there is not a budget for fancy tools and lifting gear, this would have to be done simple and we hope safely.
Our first ideas were to use lorry type chassis but we had a problem with height we needed to keep everything as low as possible to get out of the doors. we had to be able to construct the trolly under the boat, we had to be able to jack the boat using 12 tonne bottle jacks.
So we came up with the caterpillar
This is two 6 meter steel girders drilled to take 5 axles in each with each axle having two small solid wheels of 1600 kg per axle giving moving capacity of 16000 kg.
These can be pushed individually under the boat then they are joined across by cross members that are bolted to the caterpillar, long timbers are also laid across
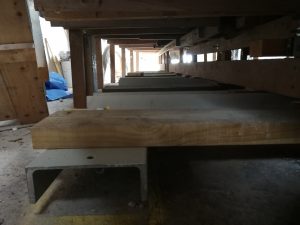
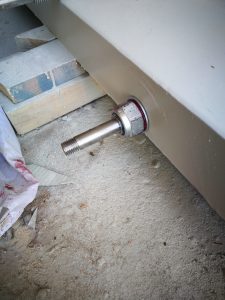
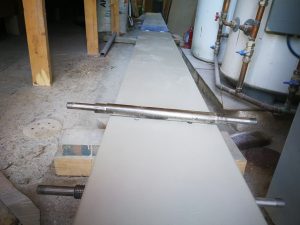
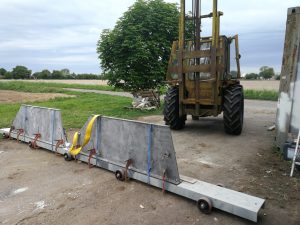
The axles were turned on a cnc machine, the wheels are double bearinged and a snug fit to the axle.
Once the caterpillar was put together under the hull we then jacked (6 x 12 tonne bottle jacks)the strong back (building frame) until we were just clear of the floor then we shimmed the hull in place.
So our hull now moved we tested it with a jack and we got it to move 25 mm if it moves this much it should move out of the workshop.
Once we have the hull out into the sunshine we need to turn it over. I didn’t want the hull to be dragged on its side and I wanted a method that would turn it slowly and with an element of control. The crane guys talk about choking it or strangling it. this involves a lot of pressure on one part and dragging the hull right way up. not something I was keen on, so to the drawing board.
People have been turn items using frames since god created man, we looked at many options square frames with the corners knocked off, a lever and packing system, none of which filled me with hope.
So what were we to do, I was talking to my friend Lara she said she was taking out her young nephew and the subject of hamsters came up this brought me to the hamster wheel what if we built one around the hull so that we turned on that and not the hull itself.
We decided on constructing only the part that would touch the floor thereby protecting the hull
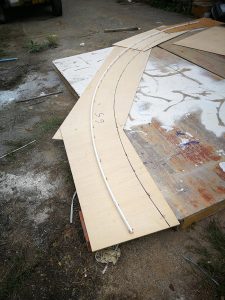
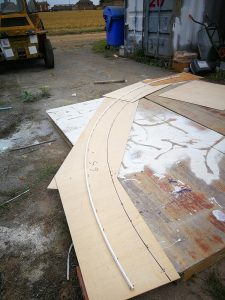
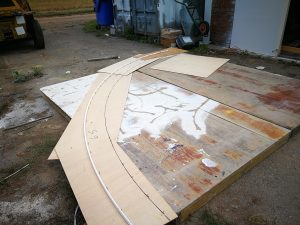
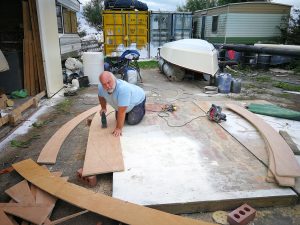
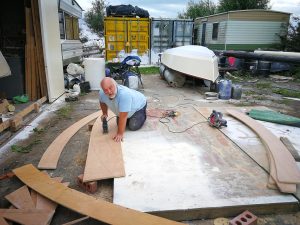
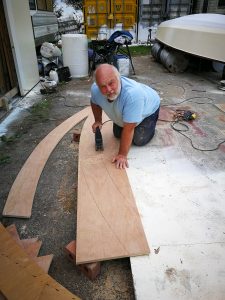
These quarter wheels were made of 18 mm off cut ply and glued and screwed together in laminations to make two C frames approximately 4 inches thick. These were then hung onto the hull and a system of hook clamps were made along with several large bolts that went through the hull were the ballast keel would be bolted.
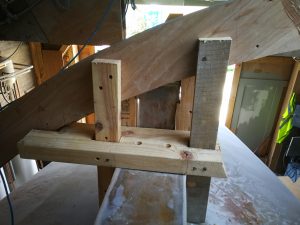
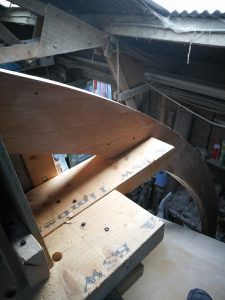
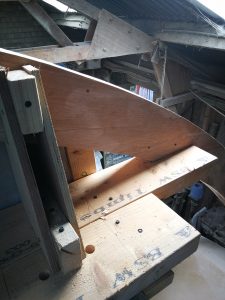
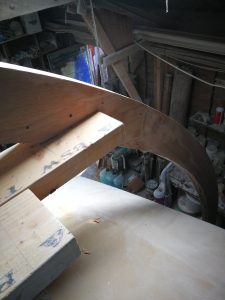
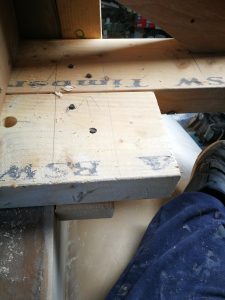
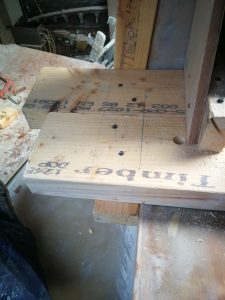
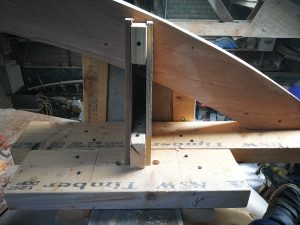
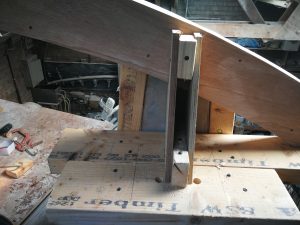
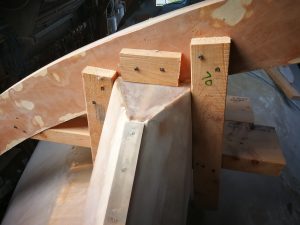
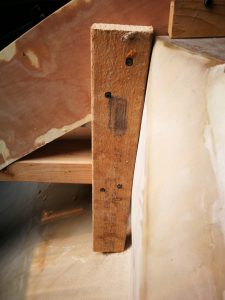
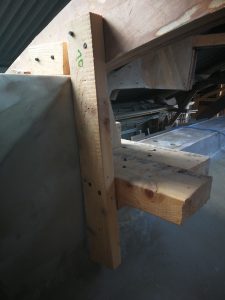
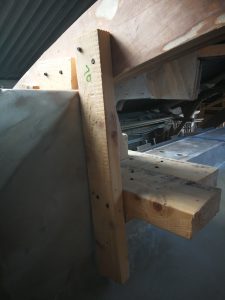
The bottom of the C frame was constructed with a bottom clamp that would sweep under the boat allowing the boat to be toppled over onto the frame and then turned up right
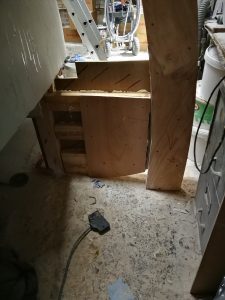
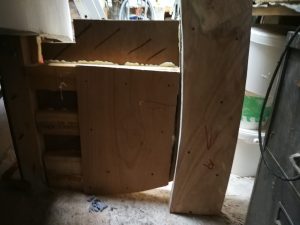
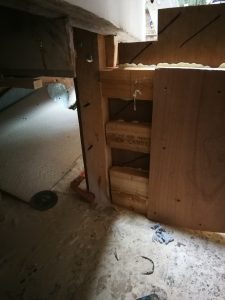
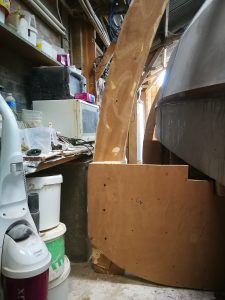
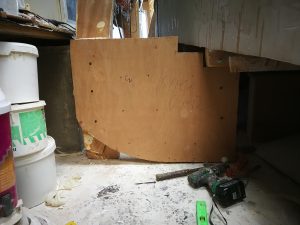
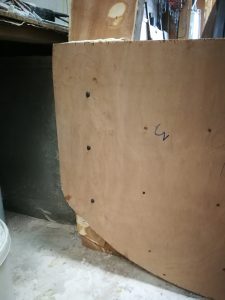
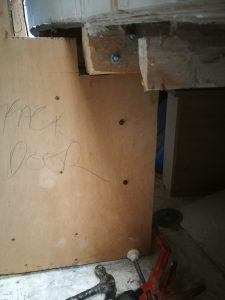
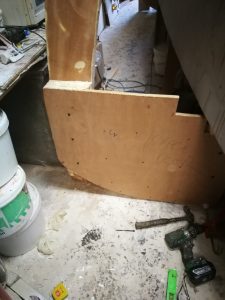
These were then numbered and put into storage until they would be needed.
The next problem to look at was our ground outside, we have in the past had engine cranes sink into the tarmac as its not particularly good so we needed to make sure our small wheels on the caterpillar did not sink into the ground.
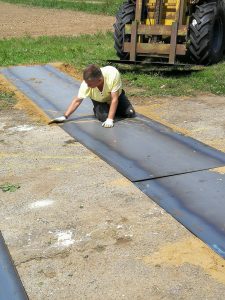
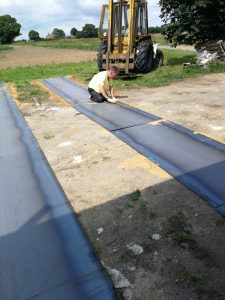
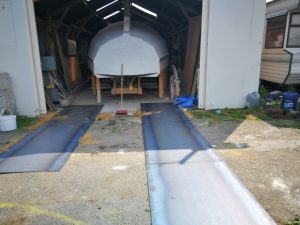
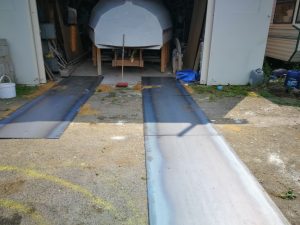
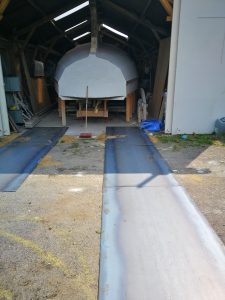
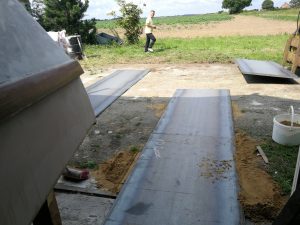
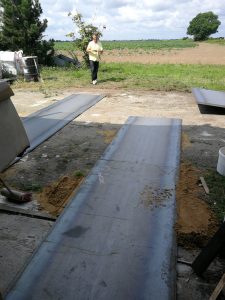
Again numerous ideas were batted around over drinks at the local pub even considering the ripping up of the hard standing and laying a new concrete pad and this was seriously thought about. until I remembered seeing two guys move a steam engine on two steel plates that they had oiled. It was the steel plates that interested me, this would give us a roadway from inside the workshop out across to the grass the otherside of the drive.
We chose 4mm plates as they were about as big as we could man handle, but we needed to level them off. again it’s the crazy things we remember . I saw a film about building a hotel in Dubai and the use of sand for footings and foundations , so by the use of some damp sand we leveled our road way
